Building a Mill Cabinet
This is an article I wrote while employed at the Homebrew Emporium. I copied it here to my website for posterity. Milling grain properly is absolutely essential to producing quality cask ale.
— Randy Baril
12 January 2017
Original posted on 27 July 2016
Here at Modern Homebrew Emporium, it is not hyperbole when we say that we sell tons of grain. Over 23 tons last year alone. If only half of that passed through our mills, that’s still more than a ton a month. We’ve relied on our faithful JSP MaltMill for well over a decade in various incarnations. It’s been rebuilt a handful of times and had its milling station reconfigured at least twice. Alas, dear friend, it’s time to enjoy a well-earned retirement.
In this spirit, we announced in May 2016 that we were going to begin collecting a surcharge to help pay for a replacement.
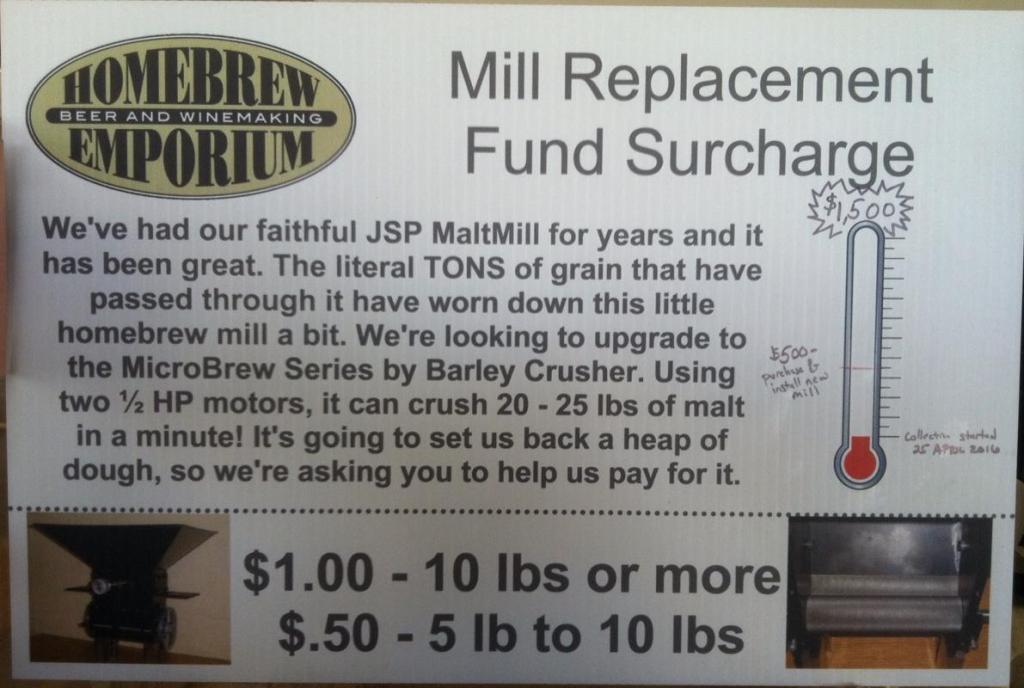
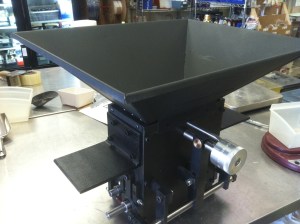
As indicated by the sign, we decided to go with the MicroBrew Series by Barley Crusher. Powered by a pair of independent (and explosion-proof) ½ horsepower Totally Enclosed Fan Cooled(TECF) Motors by Grizzly and with the power transference handled by 1½” pulleys on the motor and a 7” and an 8″ pulley on respective sides of the mill with V-Belts, this mill is going to gobble up the grain. The different sized pulleys are to introduce a slight shearing force on the grain hull as the malt passes through the gap. Since each roller is at a slightly different speed, the grain should roll just a bit, producing more intact hulls while crushing the endosperm just the same.
We are fortunate to have both a terrific customer base that is amenable to such a surcharge in addition to the support of some of our customers-turned-professionals who stepped to make this mill a reality sooner rather than later. We would like to give particular thanks to Night Shift Brewing, Will Meyers (a Modern Brewer alumni) and Cambridge Brewing Company, Down the Road Brewery, Aeronaut Brewing Company, and Cold Harbor Brewing Company. Without their support, we’d still be thinking about the mill instead of building it.
As it worked out, we sent a couple of our guys to the 2016 Homebrew Con (the conference formerly known as the National Homebrewers Conference). Randy from Barley Crusher was there showing off his mill. It’s bulky, very heavy, and needed to be shipped all the way from Michigan. It needed to be shipped back as well, but we convinced him that it’d be so much easier to sell it to us at the conclusion of the conference. And he did!
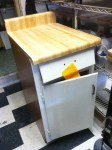
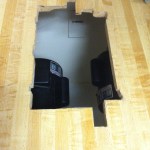
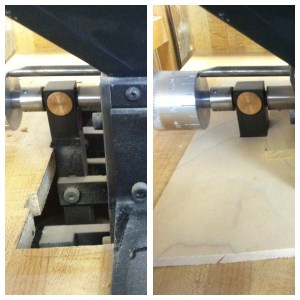
Mill projects begin with a cabinet. We’ve tried the 2×4 and plywood hand-built cabinets before and knew that we definitely wanted a mass-market one. They’re just square and have a tendency to keep their shape. Fortunately for us, we were able to acquire one soon after our mill arrived. It wasn’t pretty, but we had just the elbow grease to make the necessary changes. The first task was cutting the mill in to the counter surface. This turned out to be a bit trickier than anticipated seeing how the mill wasn’t symmetrical. Then again, the asymmetrical bit was the awesome dual-adjustment part, so this is hardly a complaint.
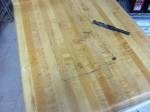 There was a bit of a comedy of errors in getting the mill cut in. We burnt up our old jigsaw (whose cutting speed was measured in inches per hour), then did the best we could with a circular saw. Also known as a skill saw, it certainly required prodigious skill to cut in most of the linear lines. Completion did require asking one of our own to bring in their personal jig saw to see the project through. Even so, we still needed the skill saw to rout out the path of the pulley and belt. They don’t call it a skill saw for nothing!
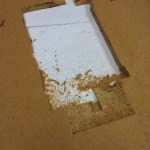
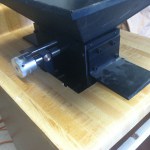
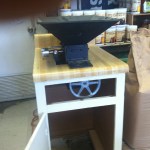

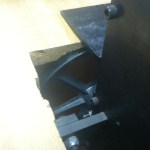
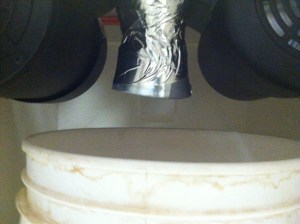
We soon realized that there was not quite enough room under what would be the motor space to have a collection bucket. What we needed was to scab on a bit of a spacer. Fortunately, 2x3s were readily available. A couple of screws and some cardboard-fillers later and this was done. Then a couple holes for the motor mounts and the interior was ready for a new paint job.
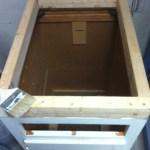
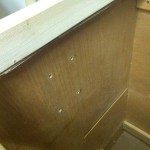
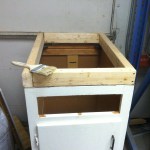
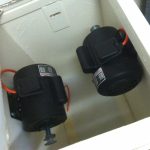
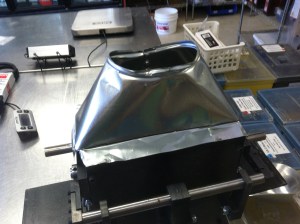
The motors created a narrower gap than anticipated, so our collection chute needed a bit of work. Sheet metal can be a pleasure to work with so long as you have some simple hand tools such as a vice and a mallet. We had to do a bit of cutting and taping (with aluminum duct tape – it retains its shape better) to get it to fit just right.
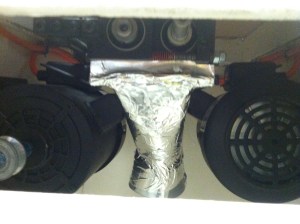

For wiring, our electrician opted for 3-wire 14 gauge SJT appliance cord. There’s the main box where power comes in, then up to a switch (we opted for a weather-proof one as we thought it’d be more durable) and also to a pressure-switch (not pictured as it’s not installed as yet) that prevents the mill from turning on if the door is left open. If only we could think of a way to require a bucket to be present.
Bucket clearance looked good, so we ran the pulleys and bolted the thing down. We drilled through the flanges on the mill and straight through the table so that the bolts would have very little play. The torque on the mill due to the belts is pretty impressive! With the actual work of building the mill station complete the last thing to do was to build a couple of panels to cover up the hole necessary to get the mill into position. They’ll eventually be stained and lightly glued into position to that they’re even more invisible.

What’s left to do after most of the work is done? SHOW IT OFF! So on Wednesday, 3 August 2016 we went over to Night Shift Brewery to celebrate with the  masses. Several pints of beer were consumed and many non-brewing folks were duly impressed. Pictured below are just a few of the people excited to stop by Modern Homebrew Emporium to check it out!

This article will be continued when we actually replace the milling station. Until then, we’re doing some additional testing to get feedback on the crush and operation of the mill. Won’t you join us?